-
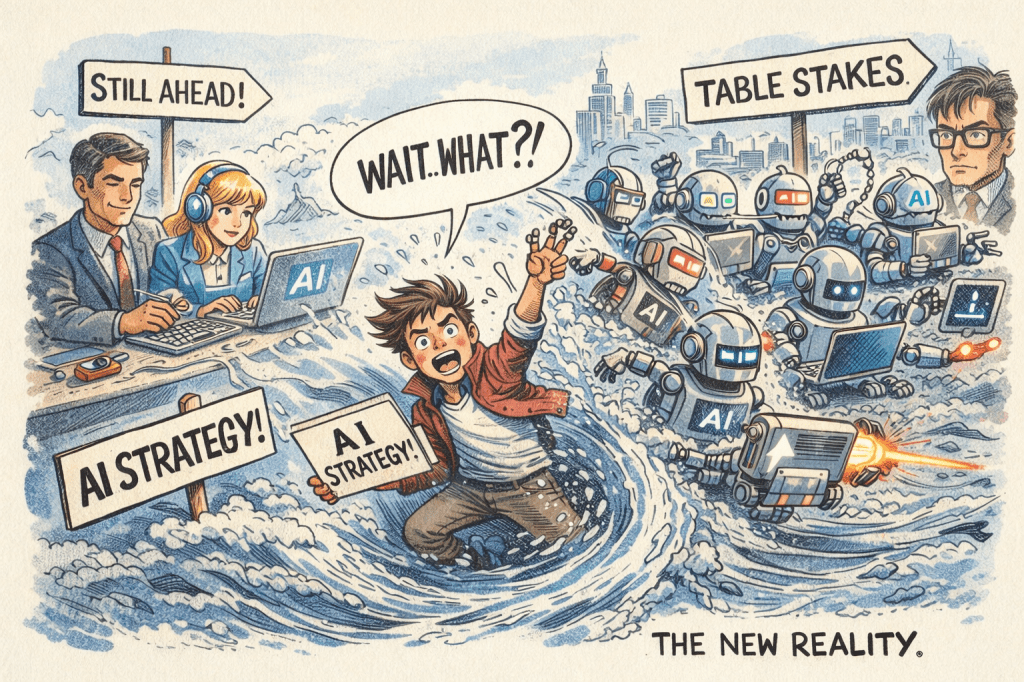
Judgment = Information + Taste
Most product leaders have been trained to worship information. More data. More dashboards. More customer calls. More synthesis. It feels responsible, and sometimes it is. But if you have ever sat in a roadmap review where everyone has the same facts and still ends up with three mutually exclusive “obvious”… Read more ⇢
-
Alliances
The first time I tried to build an alliance program, I thought the job was to find good partners and get deals done. So I chased momentum. A conversation turned into a pilot, a pilot turned into a launch, and a launch turned into a vague sense that we were… Read more ⇢

-
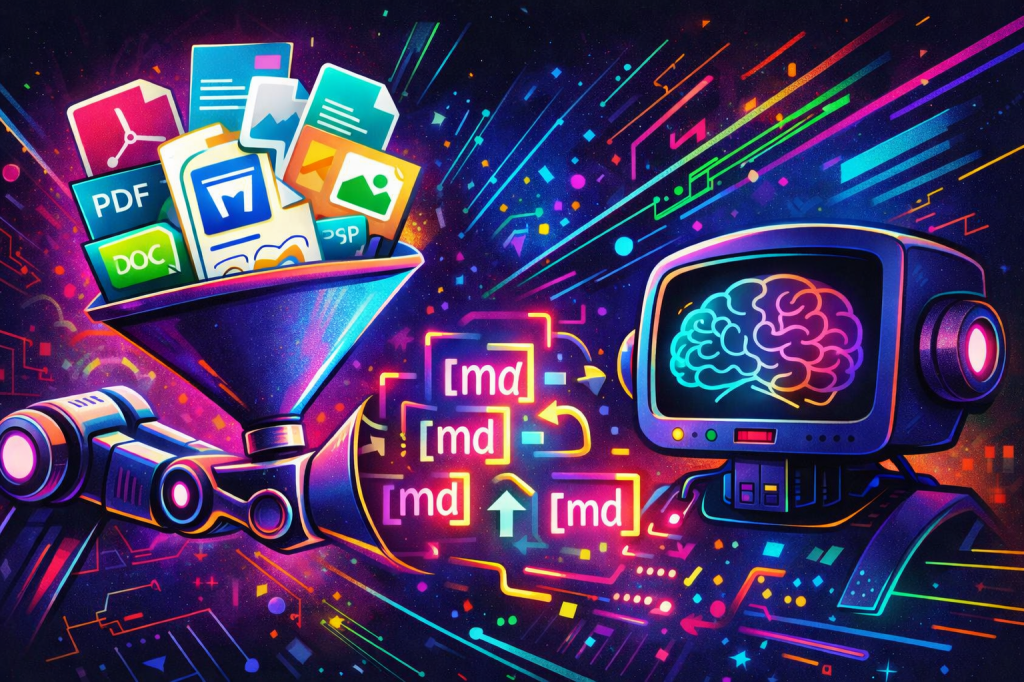
MarkItDown as a Document Normalization Layer for RAG
Your project might not have a retrieval problem. They have an ingestion problem. If your corpus includes PDFs, Word files, PowerPoints, spreadsheets, HTML, images, and the occasional ZIP full of mixed artifacts, the hard part is not generating embeddings. The hard part is turning all of that into a consistent… Read more ⇢
-
The Next Product Interface Is Not a Screen. It Is a Contract.
Enterprise software is entering an uncomfortable transition. For twenty years, the product experience was designed around the assumption that a human would open a browser, navigate a workflow, interpret the screen, and click the next button. That assumption is breaking. Humans will still use products, but they will increasingly share… Read more ⇢

-
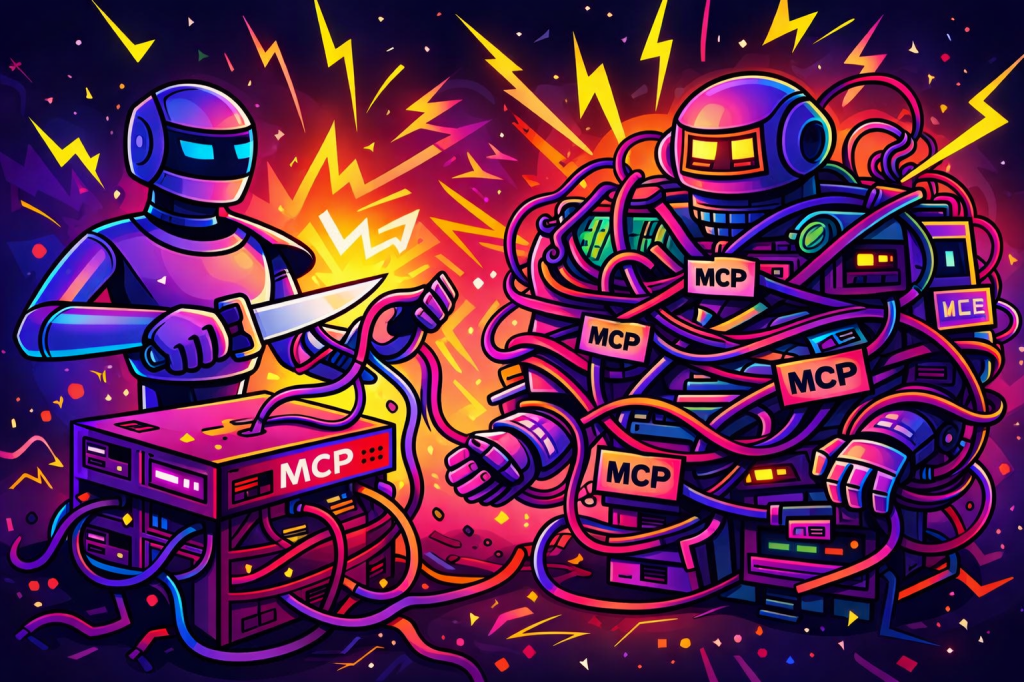
Stop Turning Every Capability Into MCP: Make MarkItDown Native in Microsoft Agent Framework
Too many agent architectures are getting more complicated than they need to be. A team finds a useful capability like document conversion, wraps it in MCP, adds another protocol boundary, introduces another deployment surface, and then wonders why the agent stack feels heavier than the business problem it was supposed… Read more ⇢
-
The hard truth about career growth: you do not get promoted, you get redefined
Early in your career, progress feels linear. You ship more code. You learn more systems. You become “the person” people trust to solve hard problems. Then, somewhere between senior engineer and “senior leader,” the rules change. Not because you got worse. Because the job did. If you keep playing the… Read more ⇢

-
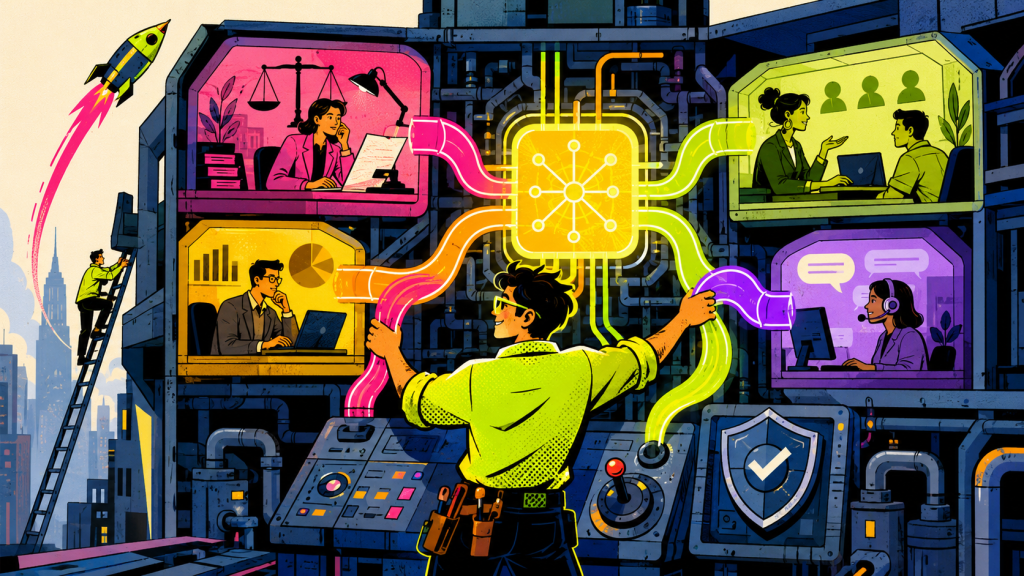
The New AI Transformation Role Is a Forward-Deployed Change Agent
Aaron Levie’s post about Box hiring AI Business Automation Engineers is more important than it looks. It is not just another AI job description. It is a signal that enterprise AI is moving out of the innovation lab and into the operating model of the company. For the last two… Read more ⇢
-
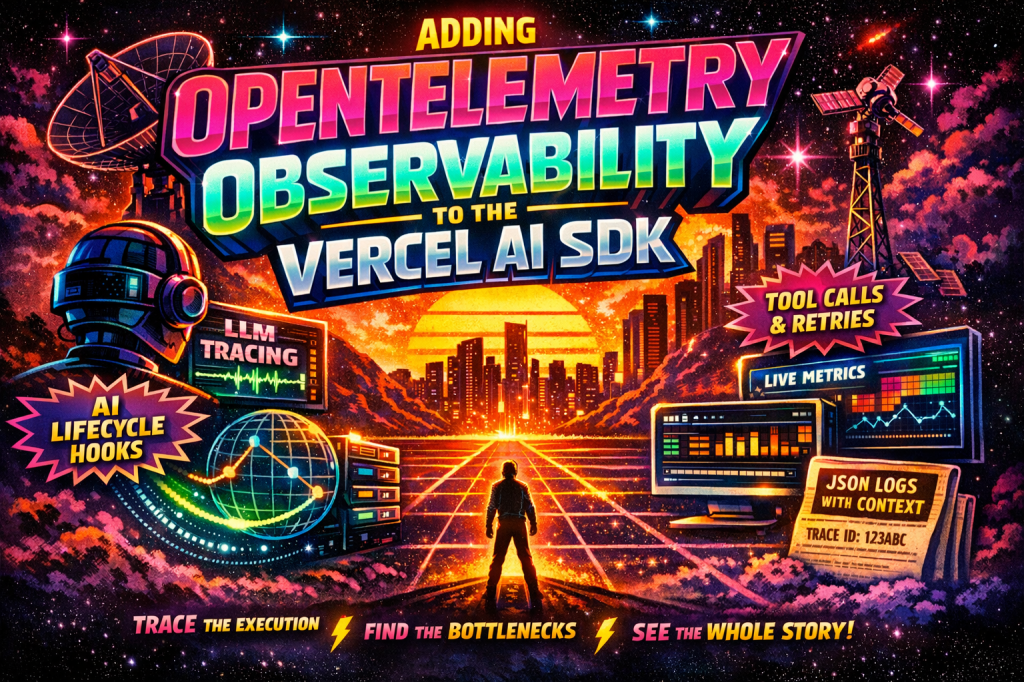
Adding OpenTelemetry Observability to the Vercel AI SDK
Want the full implementation? See the end-to-end OpenTelemetry implementation on GitHub This article explains the approach. The GitHub repository shows the complete implementation, including the Vercel AI SDK telemetry integration, structured logging, and trace context correlation. View the GitHub Repo AI features rarely fail in obvious ways. They usually fail… Read more ⇢
-
From Prompt Engineering to Harness Engineering: The Real Progression of Agentic Engineering
The story of agentic engineering is not a story of replacement. Prompt engineering did not die when context engineering arrived. Context engineering did not become irrelevant when harness engineering showed up. Each layer solved the failure mode of the layer before it, and the companies that understand this are moving… Read more ⇢
-
Subscribe
Subscribed
Already have a WordPress.com account? Log in now.
